Seasoned Chicken Breast: Juicy and Tender
- Time: 10 min active + 20 min cook
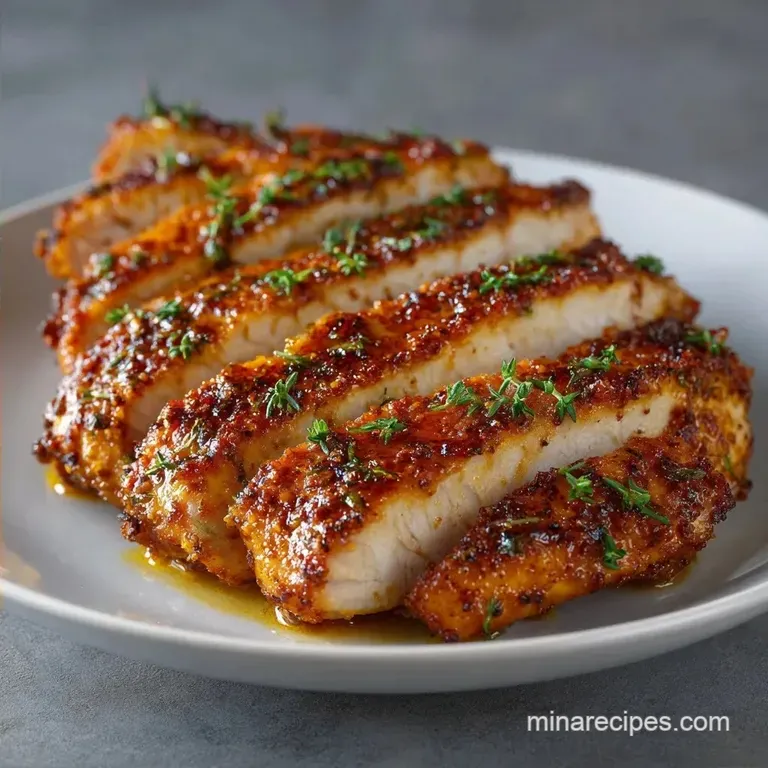
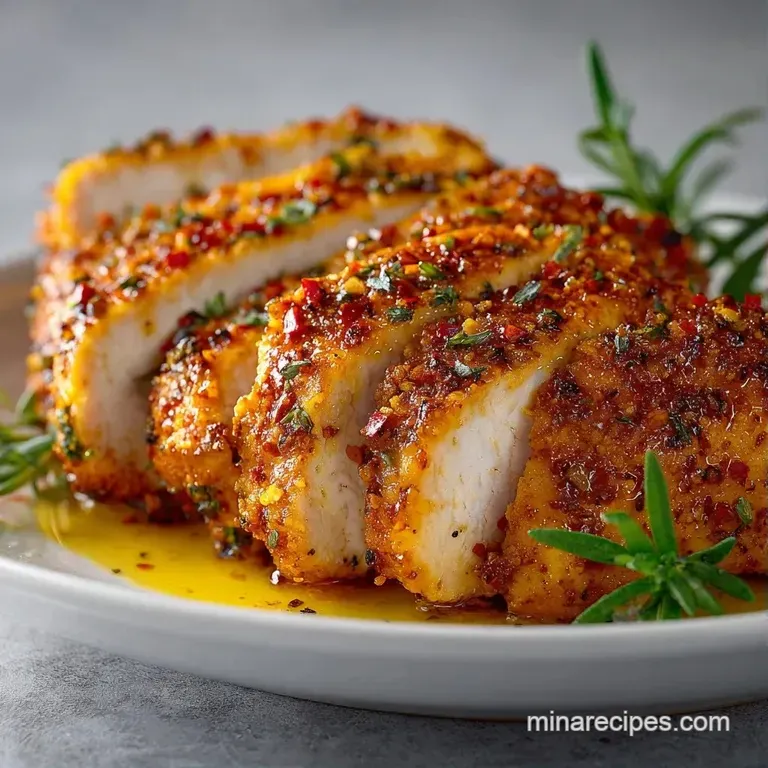
- Flavor/Texture Hook: Mahogany crust with a juicy, tender center
- Perfect for: Fast weeknight dinners and budget-friendly meal prep
- The Best Seasoned Chicken Breast
- Techniques for Juicy Meat
- Meat Component Analysis
- Gathering Your Essentials
- Gear You Actually Need
- Step-by-Step Cooking Guide
- Fixing Common Cooking Errors
- Troubleshooting Common Issues
- Smart Dietary Swaps
- Saving and Scaling
- Common Kitchen Myths
- Storage Guidelines
- Serving Suggestions
- Recipe FAQs
- 📝 Recipe Card
The Best Seasoned Chicken Breast
That first loud sizzle when the meat hits the hot oil is the best part of this whole process. It is that immediate signal that you are about to get a deep, dark crust instead of a gray, steamed piece of protein.
I remember the first time I tried to cook chicken breasts just by tossing them in a pan, and it was a disaster. The outside was burnt to a crisp, but the center was practically raw, and the texture was like chewing on a rubber band.
I spent a few weekends messing around with temperatures and thickness until I realized the secret isn't a fancy marinade, but the physical shape of the meat. Once I started pounding the breasts to an even thickness, everything changed.
Now, this Seasoned Chicken Breast is my go to when I have zero energy but still want something that tastes like it took hours. It is fast, cheap, and actually works every single time.
You can expect a meal that hits all the right notes: smoky from the paprika, savory from the garlic, and incredibly juicy. We are skipping the long soak in the fridge and going straight for a high impact rub.
This is about getting maximum flavor with minimum effort, which is exactly how dinner should be on a Tuesday night.
Techniques for Juicy Meat
Even Thickness: Pounding the meat ensures every square inch cooks at the same speed, so the edges don't dry out before the center is done.
The Sear Finish: Searing creates a mahogany crust for flavor, while the oven gently brings the internal temperature up without overcooking the exterior.
Carryover Cooking: Taking the meat off the heat a few degrees early lets the internal heat finish the job, keeping the juices from leaking out.
Surface Dryness: Removing moisture from the skin prevents steaming and allows the oil to fry the surface immediately.
| Method | Time | Texture | Best For |
|---|---|---|---|
| Fast Sear & Bake | 30 mins | Juicy & Crusty | Busy Weeknights |
| Classic Bake | 45 mins | Soft & Tender | Low Effort |
| Pan Only | 20 mins | Charred/Firm | Small Portions |
Meat Component Analysis
| Ingredient | Science Role | Pro Secret |
|---|---|---|
| Smoked Paprika | Color & Depth | Use a Spanish brand for a more intense aroma |
| Kosher Salt | Moisture Control | Coarser grains prevent "over salting" the surface |
| Olive Oil | Heat Transfer | Rub it on the meat, not just the pan, for better crust |
| Garlic Powder | Savory Base | Powder sticks better than fresh garlic during over high heat searing |
Gathering Your Essentials
For this Seasoned Chicken Breast, we keep the list short. I like using pantry staples because they are budget friendly and you probably already have them. Trust me, don't bother buying expensive pre made rubs; they are mostly salt and fillers anyway.
- 1.5 lbs boneless, skinless chicken breasts Why this? Standard size for quick cooking (Substitute: Chicken thighs for more fat/flavor)
- 1 tbsp extra virgin olive oil Why this? High smoke point and clean taste (Substitute: Avocado oil for higher heat)
- 1 tsp Kosher salt Why this? Controls moisture (Substitute: Sea salt)
- 1/2 tsp black pepper Why this? Adds a sharp bite (Substitute: White pepper)
- 1 tsp smoked paprika Why this? Gives that mahogany color (Substitute: Sweet paprika for less smoke)
- 1 tsp garlic powder Why this? Even flavor distribution (Substitute: Onion powder)
- 1/2 tsp onion powder Why this? Adds sweetness (Substitute: Garlic powder)
- 1/4 tsp dried oregano Why this? Earthy aromatic note (Substitute: Dried thyme)
| Original Ingredient | Substitute | Why It Works |
|---|---|---|
| Smoked Paprika | Cumin + Paprika | Similar earthiness. Note: Lacks the smoky depth |
| Olive Oil | Butter | Richer taste. Note: Burns faster, watch the heat |
| Dried Oregano | Dried Basil | Similar herbal profile. Note: Slightly sweeter taste |
Right then, once you have your ingredients, make sure your chicken is at room temperature for about 15 minutes. This prevents the meat from shocking the pan and dropping the temperature, which is the main reason people end up with "boiled" looking chicken.
Gear You Actually Need
You don't need a professional kitchen to make this happen. I use a basic cast iron skillet because it holds heat like a beast, but any oven safe pan will work. If you don't have a meat mallet, just use a heavy rolling pin or even the bottom of a sturdy skillet to flatten the meat.
The most important tool here is the instant read thermometer. I cannot stress this enough. Stop guessing by cutting into the meat and letting the juices run out, because that's how you lose all the moisture. A thermometer is the only way to guarantee a velvety result.
Step-by-step Cooking Guide
Step 1: Preparing the Protein
Pat the chicken breasts completely dry with paper towels. Use a meat mallet to pound the thickest part of the breast until the entire piece is an even thickness of about 3/4 inch. Note: This prevents the "raw center, burnt edge" syndrome.
Step 2: The Seasoning Phase
Rub the olive oil over the meat. Coat generously with the seasoning blend - salt, pepper, paprika, garlic powder, onion powder, and oregano - pressing it in with your fingers. Note: Pressing the spices in ensures they don't just fall off in the pan.
Step 3: The Searing Phase
Preheat the oven to 400°F (200°C). Heat an oven safe skillet over medium high heat until the oil shimmers. Place the chicken in the pan and sear for 3-4 minutes per side without moving them, until a mahogany colored crust forms.
Step 4: The Oven Finish
Transfer the skillet into the oven and bake for 8-12 minutes. Remove when the internal temperature of the thickest part reaches 160°F (71°C). Note: Don't wait for 165°F in the oven, or it will overcook during the rest.
Step 5: The Final Rest
Transfer the chicken to a plate and tent loosely with foil. Let rest for 5 minutes until the internal temperature rises to 165°F (74°C). Note: This allows the fibers to relax and reabsorb the juices.
Fixing Common Cooking Errors
Troubleshooting Common Issues
| Issue | Solution |
|---|---|
| Why Your Chicken Is Dry | This usually happens because the meat was cooked too long in the oven or didn't rest. |
| Why Your Seasoning Burnt | If your spices taste bitter or look black, your pan was too hot or you used too much sugar based rub. |
| Why Meat Sticks to the Pan | Sticking happens when the pan isn't hot enough or the meat is too wet. If you put chicken in a lukewarm pan, it bonds to the metal. Wait for the oil to shimmer before adding the meat. |
Mistakes to avoid:
- ✓ Don't move the chicken during the first 3 minutes of searing.
- ✓ Don't skip the paper towel drying step.
- ✓ Don't crowd the pan (cook in batches if needed).
- ✓ Don't forget to let the meat rest for 5 full minutes.
Smart Dietary Swaps
If you're looking for a different vibe for your Seasoned Chicken Breast, you can easily tweak the rub. For a spicy version, add 1/2 tsp of cayenne pepper or a pinch of chipotle powder. It gives a nice back end heat that cuts through the richness of the olive oil.
For those following a Keto or low carb lifestyle, this recipe is already a win. I've found that adding a tablespoon of melted butter to the pan during the last 2 minutes of the oven finish adds a velvety richness that keeps you full longer.
If you want a Lemon Pepper twist, swap the paprika and oregano for 1 tsp of cracked black pepper and a squeeze of fresh lemon juice right after the meat comes out of the oven. The acidity brightens the whole dish and makes it feel lighter.
Saving and Scaling
Adjusting for Fewer People
If you're only cooking one breast, reduce the seasoning by half. Use a smaller pan so the oil doesn't spread too thin and burn. You'll likely need to shave 2-3 minutes off the oven time since there is less mass in the pan.
Cooking for a Crowd
When doubling or tripling the recipe, do not just add more spices linearly. I suggest scaling salt and spices to about 1.5x instead of 2x to avoid over seasoning. Most importantly, work in batches. If you crowd the pan, the chicken will steam instead of sear, and you'll lose that mahogany crust.
| Quantity | Pan Size | Temp Adjustment | Time Change |
|---|---|---|---|
| 1 Breast | 8 inch | None | -2 mins oven |
| 4 Breasts | 12 inch | None | Standard |
| 8 Breasts | 2 Pans | Lower to 375°F | +5 mins oven |
Common Kitchen Myths
Searing seals in juices. This is a total lie. Searing doesn't create a waterproof barrier; it just browns the surface. The moisture is kept inside by not overcooking the meat and allowing it to rest.
Chicken must be cooked to 165°F in the pan. Actually, the USDA recommends an internal temperature of 165°F, but you should pull it at 160°F. The temperature continues to rise while the meat rests on the plate.
Storage Guidelines
Store your leftovers in an airtight container in the fridge for up to 4 days. To keep it from drying out when reheating, add a splash of water or a small pat of butter to the pan and cover it with a lid. This creates a little steam chamber that revives the texture.
For the freezer, wrap the cooked breasts tightly in foil and then a freezer bag for up to 3 months. Thaw them in the fridge overnight before reheating in the oven at 300°F for about 15 minutes.
To avoid waste, use any leftover seasoning rub on roasted potatoes or cauliflower. If you have chicken scraps or bones from prepping, toss them in a pot with water and a carrot to make a quick, budget friendly stock for your next soup.
Serving Suggestions
This Seasoned Chicken Breast is incredibly versatile. For a classic comfort meal, I love serving it alongside some Simple Homemade Garlic Bread and a crisp green salad. The crunch of the bread pairs well with the tenderness of the meat.
If you're looking for something more filling, try serving it over a bed of quinoa or roasted root vegetables. For those who prefer a different cooking style entirely, my Pan Seared Chicken recipe is another great option for when you don't want to turn on the oven.
Right then, that is how you get a restaurant quality result without the restaurant price tag. Just remember: pound the meat, sear it hard, and use your thermometer. Your dinner struggle is officially over!
Recipe FAQs
What is the easiest way to season chicken breast?
Rub olive oil over the meat, then press in a blend of salt, pepper, paprika, garlic powder, onion powder, and oregano. This ensures the spices adhere and flavors penetrate the meat.
How to bake boneless chicken breasts for maximum juiciness?
Sear the chicken in an oven safe skillet before baking at 400°F for 8-12 minutes. This process creates a crust that locks in moisture and flavor.
Is chicken breast good for hypertension?
Yes, it is a lean protein. To further support heart health, simply reduce the amount of Kosher salt used in the seasoning blend.
How to cook chicken for someone with gastritis?
Avoid using black pepper and smoked paprika to prevent stomach irritation. Focus on the garlic powder, onion powder, and oregano for flavor.
How to cook chicken for diabetic patients?
Use this olive oil and spice rub, as it contains no added sugars or refined carbohydrates, making it a safe, low-glycemic option.
Is it true you should move the chicken while searing?
No, this is a common misconception. Moving the meat prevents a mahogany colored crust from forming; leave it undisturbed for 3-4 minutes per side.
How to cook pan seared chicken breast?
Heat oil in a skillet until it shimmers, sear for 3-4 minutes per side, and finish in the oven. If you've mastered this searing technique, see how we apply similar heat control in our garlic butter chicken.
Seasoned Chicken Breast

