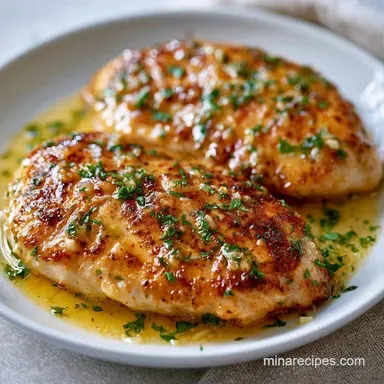
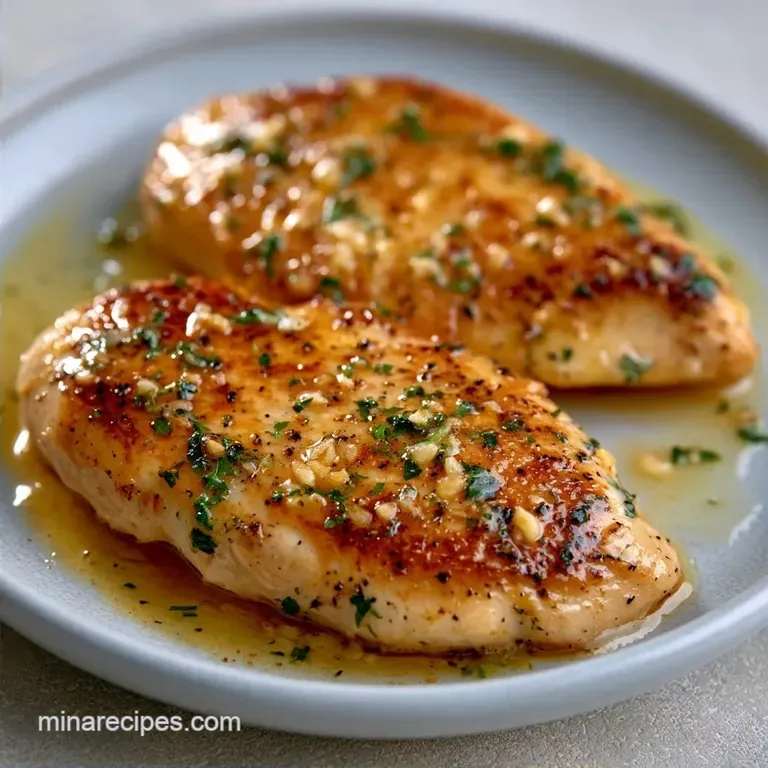
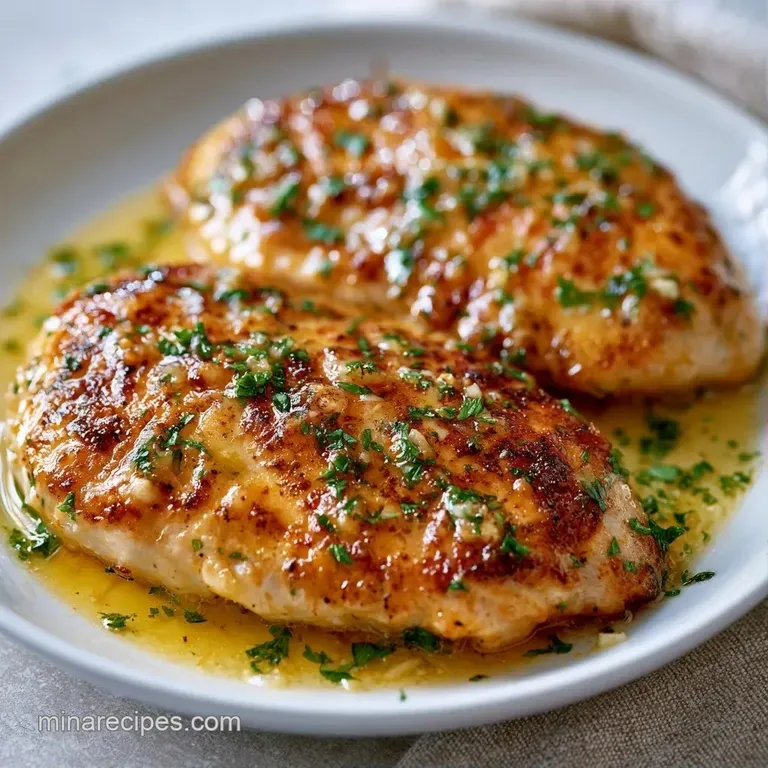
Garlic Butter Chicken: Juicy and Golden
- Time: 5 min active + 15 min cook = Total 20 mins
- Flavor/Texture Hook: Sizzling garlic butter with a shatter crisp golden exterior
- Perfect for: Fast weeknight dinners that feel fancy
The sound of butter foaming in a hot cast iron skillet is, for me, the sound of a successful Tuesday. There is something about that specific hiss - the moment the garlic hits the fat and the air fills with a nutty, pungent aroma - that just makes the whole house feel cozy.
It's the kind of meal that feels like a hug, but looks like you spent hours in the kitchen.
I remember the first time I tried making this. I was impatient and skipped patting the chicken dry. Instead of a golden sear, the meat steamed in its own juices, leaving me with a pale, rubbery mess that lacked any real character. It was a total letdown. That's when I realized that moisture is the enemy of the crust.
Since then, I've obsessed over the "dry and dredge" method, and it's the only way I'll do it now.
This Garlic Butter Chicken is all about the contrast. You get that slight crunch from the flour, the juicy tenderness of the breast, and a sauce that is rich yet brightened by a splash of lemon. It's a simple balance of fat and acid that works every single time.
Trust me, once you nail the sear, you'll never go back to plain grilled chicken.
Secrets for the Best Garlic Butter Chicken
To get this right, you have to understand a few things about how the pan works. It isn't just about throwing things in a skillet, it's about timing and temperature.
The Crust Secret: A thin layer of flour acts as a barrier. It prevents the meat from sticking too aggressively and creates a surface that browns quickly, giving you that golden brown look.
The Butter Timing: We don't cook the chicken in butter from the start because butter burns at high heat. We use oil for the sear and add the butter at the end to create a velvety emulsion.
The Acid Balance: Lemon juice isn't just for flavor. It cuts through the heavy fat of the butter, preventing the dish from feeling too "greasy" on the palate.
The Resting Phase: When you pull the meat out, the juices are pushed to the edges. Letting it sit for a few minutes allows them to redistribute so the moisture stays inside the meat.
| Method | Time | Texture | Best For |
|---|---|---|---|
| Pan Seared | 20 mins | Crispy crust, velvety sauce | Quick weeknight meals |
| Baked | 30 mins | Evenly cooked, softer exterior | Large crowds/meal prep |
| Air Fryer | 18 mins | Very crisp, less sauce | Low oil preferences |
Component Analysis
| Ingredient | Science Role | Pro Secret |
|---|---|---|
| All Purpose Flour | Starch Barrier | Shake off excess to avoid a "pasty" crust |
| Unsalted Butter | Flavor Carrier | Use cold butter for a thicker, creamier sauce |
| Lemon Juice | pH Balancer | Add at the very end to keep the flavor bright |
| Garlic Powder | Dry Seasoning | Provides a base layer of flavor before the fresh garlic |
Ingredient Breakdown
For the best results, stick to these exact measurements. I've found that too much flour makes the chicken taste like a fried snack, while too little means you lose that gorgeous crust.
For the protein:
- 4 boneless, skinless chicken breasts (approx. 1.5 lbs / 680g)Why this? Uniform size ensures they all cook at the same rate
- 1/2 cup (65g) all purpose flourWhy this? Creates the golden "skin" on skinless breasts
- 1 tsp (5g) garlic powderWhy this? Infuses flavor deep into the meat
- 1 tsp (6g) saltWhy this? Essential for moisture retention
- 1/2 tsp (1g) black pepperWhy this? Adds a subtle woody heat
For the sauce:
- 2 tbsp (30ml) olive oilWhy this? High smoke point for the initial sear
- 6 tbsp (85g) unsalted butterWhy this? The base for the rich, nutty finish
- 4 cloves (20g) garlic, mincedWhy this? Provides the punchy, aromatic top notes
- 1 tbsp (15ml) fresh lemon juiceWhy this? Cuts through the richness of the butter
- 1 tbsp (4g) fresh parsley, choppedWhy this? Adds a fresh, grassy contrast
If you're missing something, don't panic. You can swap olive oil for avocado oil if you have it, as it handles heat even better. According to the USDA FoodData, chicken breast is lean, which is why the added fats from the butter are so critical for the final mouthfeel.
| Original Ingredient | Substitute | Why It Works |
|---|---|---|
| Unsalted Butter | Ghee (Clarified Butter) | Higher smoke point. Note: Slightly nuttier, less creamy |
| All Purpose Flour | Cornstarch | Great for gluten-free. Note: Creates a thinner, more "glassy" crust |
| Fresh Parsley | Dried Oregano | Earthy flavor. Note: Use 1/3 the amount; lacks the fresh brightness |
| Lemon Juice | White Wine (Dry) | Adds sophistication. Note: Slightly less acidic, more complex |
Right then, let's get into the gear. You don't need a professional kitchen, just a few basics.
The Tool Kit
A 12 inch cast iron skillet is my go to here. It holds heat better than any other pan, which is how you get that mahogany color without the chicken drying out. If you don't have cast iron, a heavy stainless steel pan works too.
Just avoid non stick if you can, as they often can't handle the high heat needed for a proper sear.
You'll also need a shallow dish or a zip top bag for dredging the chicken. This keeps the mess to a minimum. A pair of tongs is a must - don't use a fork to flip the meat, or you'll pierce the crust and let the juices escape.
Cooking Steps
Let's crack on. Follow these steps closely, and pay attention to the sensory cues - the smells and sounds are your best guide.
- Combine the flour, garlic powder, salt, and pepper in a shallow dish. Note: Whisking these first ensures no salt clumps.
- Pat the chicken breasts dry with a paper towel. Dredge each breast in the flour mixture, shaking off any excess until a thin, even coat remains. Note: Too much flour will burn in the pan.
- Heat olive oil in a 12 inch cast iron skillet over medium high heat until shimmering.
- Place chicken in the pan. Cook for 5–7 minutes per side without moving them until a deep mahogany crust forms and the internal temperature reaches 165°F (74°C).
- Remove chicken to a plate to rest. Note: Resting is non negotiable for juiciness.
- Reduce heat to medium. Add the butter to the same pan.
- Once the butter is bubbling, stir in the minced garlic and sauté for 30 60 seconds until fragrant but not brown.
- Stir in the lemon juice and chopped parsley.
- Pour the finished garlic butter sauce over the resting chicken breasts.
Chef's Tip: If you want an even deeper flavor, add a pinch of smoked paprika to the flour dredge. It gives the chicken a subtle, flame grilled taste even though it's made on a stovetop.
Fixing Common Issues
Even the best of us mess up. Usually, when this recipe goes sideways, it's because of heat management. If the pan is too hot, the garlic burns. If it's too cold, the chicken steams.
Troubleshooting Common Issues
| Issue | Solution |
|---|---|
| Why Your Garlic Tastes Bitter | This happens when the minced garlic spends too long in the pan or the heat is too high. Garlic burns quickly and turns acrid. |
| Why Your Chicken Is Rubbery | This is almost always caused by overcrowding the pan. If you put too many breasts in at once, the temperature drops and the meat releases water. |
| Why The Sauce Separates | If the butter looks "split" (oil floating on top of solids), it's because the heat was too high when you added the lemon juice. Stir vigorously as you add the acid to help the emulsion hold together. |
Common Mistakes Checklist
- ✓ Pat chicken bone dry before dredging.
- ✓ Don't move the chicken during the first 5 minutes of searing.
- ✓ Use unsalted butter to control the salt levels.
- ✓ Add lemon juice at the very end.
- ✓ Let the meat rest for at least 5 minutes.
Creative Flavor Twists
Depending on what you're in the mood for, you can take this Garlic Butter Chicken in a few different directions.
If you're craving something more indulgent, you can make a Creamy Garlic Butter Chicken Breast by stirring in 1/4 cup of heavy cream right after the lemon juice. Let it simmer for 2 minutes until it thickens into a velvety sauce. It turns the dish into something you'd find in a high end Italian restaurant.
For those who prefer an Air Fryer Garlic Butter Chicken Breast, you can dredge and air fry at 375°F for about 12-15 minutes, then toss them in the pan made butter sauce at the end. It's a bit more hands off but still delivers that great flavor.
If you want a more complete meal, you can try Garlic Butter Chicken and Potatoes. Just sear some halved baby potatoes in the pan first until they are golden, set them aside, cook the chicken, and then toss everything back together in the garlic butter finish.
If you're looking for a different kind of protein challenge, you might enjoy a Beef Wellington recipe, which uses a similar searing technique but adds a layer of pastry for a totally different texture.
Adjusting the Batch
Scaling this recipe is straightforward, but you can't just double everything blindly.
Scaling Down (Half Batch) If you're just cooking for two, use a smaller 8 inch skillet. Reduce the cooking time by about 20% because smaller portions often heat through faster. For the flour, you can just mix a small amount in a bowl rather than a large dish.
Scaling Up (Double/Triple Batch) When doubling the recipe, do not double the garlic or the salt. Start with 1.5x the amount and taste as you go. The biggest risk here is overcrowding. Work in batches! If you crowd the pan, you'll lose the crust and end up with grey, steamed meat.
For the butter sauce, if you're making a massive batch, reduce the total liquid (lemon juice) by about 10% so the sauce doesn't become too thin.
| Goal | Adjustment | Result |
|---|---|---|
| More Tangy | +1 tsp Lemon Juice | Brighter, sharper finish |
| More Savory | +1/2 tsp Garlic Powder | Deeper, earthier crust |
| Lower Fat | Replace 3tbsp Butter with Olive Oil | Lighter sauce, less creamy |
Kitchen Myths
There are a few things people tell you about searing meat that just aren't true.
First, the idea that searing "locks in the juices." It doesn't. Whether you sear or poach, the meat loses moisture. However, the sear creates a massive amount of flavor through browning. We sear for the taste, not for the moisture.
Second, some think that garlic powder is "fake" and should be avoided. In this recipe, garlic powder is used in the dredge because fresh garlic would burn instantly at the high temperatures needed to sear the chicken.
The powder provides a baseline of flavor, while the fresh garlic in the butter provides the aromatic finish.
Saving Your Leftovers
This dish stays surprisingly well in the fridge. Store the chicken and the sauce together in an airtight container for up to 3 days.
Reheating Guide Avoid the microwave if you can, as it will turn your beautiful crust into a sponge. Instead, place the chicken in a skillet over medium heat with a tiny knob of butter. Heat it slowly for 3-4 minutes until warmed through. This helps revive some of that original sizzle.
Zero Waste Tips Don't throw away the "fond" (those brown bits) in the pan! That's where the flavor lives. If you have extra pan drippings, you can splash in a little water or white wine to deglaze the pan and use it as a base for a quick gravy.
If you have leftover parsley stems, chop them finely and freeze them in oil cubes for your next sauté.
What to Serve
Because the sauce is so rich and velvety, you need sides that can either soak it up or cut through the fat. I highly recommend serving this with some simple homemade garlic bread to mop up every last drop of that butter sauce. It's a match made in heaven.
If you want something lighter, a crisp arugula salad with a lemon vinaigrette is the way to go. The peppery greens balance the richness of the butter perfectly. For a heartier option, steamed asparagus or a pile of fluffy mashed potatoes works wonders.
The beauty of this Garlic Butter Chicken is its versatility. Whether it's a quick Tuesday dinner or a Sunday feast, it always feels special. Just remember to pat that chicken dry, don't crowd your pan, and let the meat rest. Happy cooking!
Recipe FAQs
How to cook garlic butter chicken breasts?
Dredge chicken in flour, garlic powder, salt, and pepper, then sear in olive oil. Cook for 5 7 minutes per side until the internal temperature reaches 165°F (74°C) before finishing with the garlic butter sauce.
How to cook pan seared chicken breast?
Heat olive oil in a cast iron skillet over medium high heat until shimmering. Place the chicken in the pan and cook without moving it for 5 7 minutes per side to create a deep mahogany crust.
Why does the garlic taste bitter?
The garlic was likely burnt. This happens when minced garlic stays in the pan too long or the heat is too high, turning the flavor acrid.
Why is the chicken rubbery?
The pan was overcrowded. Putting too many breasts in at once drops the pan temperature, causing the meat to release water and steam instead of searing.
Why does the garlic butter sauce separate?
The heat was too high when adding the lemon juice. To prevent the butter from splitting, stir vigorously while incorporating the lemon juice.
What is a great side dish for this chicken?
Pair it with a fresh, savory vegetable. This recipe complements the flavors in garlic parmesan green beans for a cohesive meal.
Is it true that you can skip the flour dredge?
No, this is a common misconception. The flour is essential for developing the mahogany crust and helping the garlic butter sauce adhere to the meat.
Garlic Butter Chicken Breast