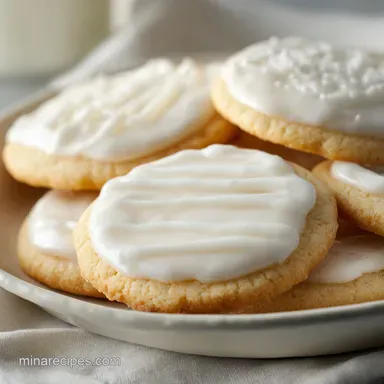
Royal Icing for Sugar Cookies: Professional and Crisp

- Time:10 minutes active + 9 hours drying = Total 9 hours 10 mins
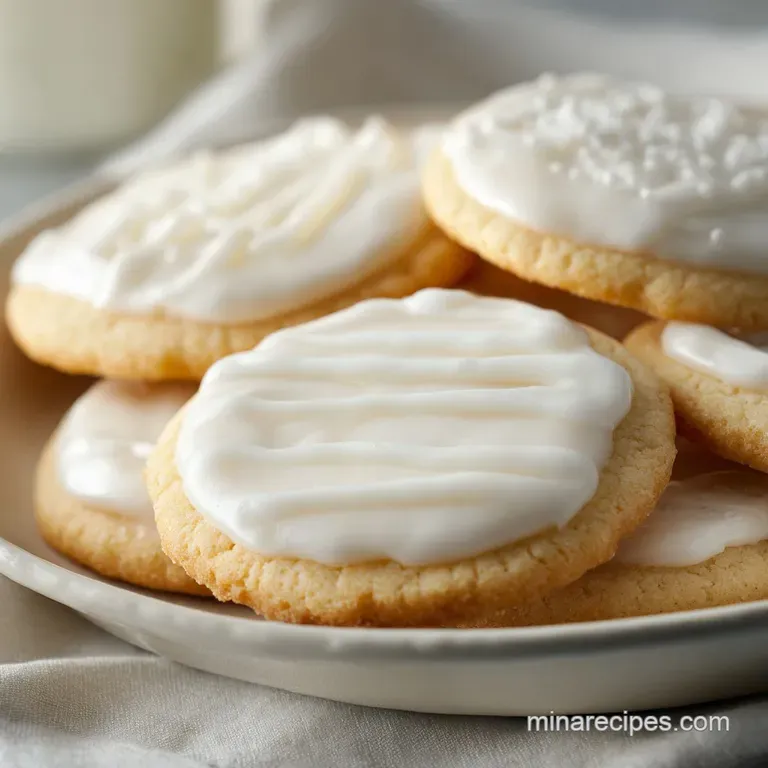
- Flavor/Texture Hook: Velvety smooth application with a crisp, porcelain like finish
- Perfect for: Holiday cookie platters, birthday parties, or beginner decorators
- Easy Royal Icing Recipe for Sugar Cookies with Vanilla
- The Secret to Smooth Icing
- Essential Icing Component Analysis
- Essential Ingredients for Your Icing
- Tools for Precise Piping
- Steps for Velvety Finish
- Fixing Your Icing Glitches
- Creative Twist for Your Icing
- Adjusting Your Batch Size
- Icing Logic Debunked
- Keeping Your Icing Fresh
- Best Pairings for Sweet Cookies
- Recipe FAQs
- 📝 Recipe Card
Easy Royal Icing Recipe for Sugar Cookies with Vanilla
Imagine that smell of warm vanilla filling the kitchen while you line up dozens of sugar cookies on the counter. There is something so calming about the process of piping a steady line of icing, watching it hold its shape, and then filling in the center with a smooth, glossy flood.
It's the part of baking where we get to slow down and actually be creative.
This Easy Royal Icing Recipe for Sugar Cookies with Vanilla is the only one you'll ever need. I've spent way too many afternoons staring at icing that was either too runny to hold a line or so stiff it felt like piping toothpaste. We've all been there, usually right before a party when the pressure is on.
But once you get the hang of the "15 second rule," everything changes. You'll go from guessing to knowing exactly when your icing is ready to flood. Trust me, the difference between a lumpy cookie and one that looks like it came from a boutique bakery is just a few teaspoons of water and a bit of patience.
The Secret to Smooth Icing
The magic of royal icing isn't just in the ingredients, but in how they bond together. We are essentially creating a sugar protein matrix that dries hard.
- Protein Structure: The egg white acts as the binder, creating a network that holds the sugar in place.
- Humectant Power: Corn syrup keeps the icing from drying out too fast in the piping bag and adds a glossy, velvety sheen.
- Sugar Saturation: The high ratio of powdered sugar ensures the icing sets into a hard shell that can be stacked.
- Emulsification: Beating the egg white and syrup first ensures the vanilla and fats are evenly distributed before the sugar thickens the mix.
| Method | Drying Time | Texture | Best For |
|---|---|---|---|
| Air Dry | 8-12 hours | Traditional crisp | Large batches |
| Low Oven | 1-2 hours | Faster set | Last minute gifts |
Essential Icing Component Analysis
Understanding what each part does helps you fix the icing on the fly if the humidity in your kitchen is acting up.
| Ingredient | Science Role | Pro Secret |
|---|---|---|
| Powdered Sugar | Structural Bulk | Sift it first to avoid tiny lumps |
| Egg White | Protein Binder | Use room temperature for better mixing |
| Corn Syrup | Gloss & Stability | Prevents the "crust" from forming too early |
| Warm Water | Viscosity Control | Add by the teaspoon, never by the glug |
Essential Ingredients for Your Icing
Right then, let's gather the goods. Make sure your sugar is fresh, as old powdered sugar can sometimes clump or have a weird taste.
- 4 cups (480g) powdered sugar, sifted Why this? Provides the necessary structure and sweetness
- 1 large egg white (30g) Why this? The protein that makes the icing set hard
- 1 tbsp (15ml) light corn syrup Why this? Adds shine and prevents cracking
- 1 tsp (5ml) pure vanilla extract Why this? Essential for that classic comfort flavor
- 3 tbsp (45ml) warm water Why this? Adjusts the flow for piping and flooding
| Original Ingredient | Substitute | Why It Works |
|---|---|---|
| Egg White | Meringue Powder + Water | Similar protein. Note: More stable, safer for raw consumption |
| Light Corn Syrup | Honey (light) | Similar viscosity. Note: Adds a distinct floral flavor |
| Powdered Sugar | Non dairy icing sugar | Same structure. Note: Check for cornstarch content |
It is important to remember that substitutes can change how the icing sets. If you use honey, your cookies might stay slightly softer for longer.
Tools for Precise Piping
You don't need a professional studio, but a few specific tools make this a breeze. I recommend a stand mixer such as KitchenAid for the bulk of the mixing, but a hand mixer works just fine.
For the piping, you'll want a set of reusable piping bags and a variety of metal tips. A small round tip (size 2 or 3) is my go to for outlines. You also need a "scribe tool" - which is really just a toothpick or a needle - to pop air bubbles and smooth out the flood.
Steps for Velvety Finish
Let's crack on with the actual making. Follow these steps and keep an eye on the texture.
- Combine the egg white, corn syrup, and vanilla extract in a mixer bowl. Beat on low for 1 minute until combined. Note: This creates the liquid base
- Slowly add the sifted powdered sugar. Mix on the lowest speed until the sugar is incorporated, then increase to medium for 2 minutes until the mixture is smooth and cloud like.
- Add warm water, one teaspoon at a time, while mixing on low. Mix until the icing holds a stiff peak for piping.
- For flooding, continue adding water one teaspoon at a time. Mix until a line drawn through the icing disappears in 15 seconds.
- Divide the icing into small bowls. Add gel food coloring and stir by hand slowly to avoid adding air bubbles.
- Pipe the outlines first and let them set for 20 minutes before you start flooding.
- Flood the centers of the cookies. Use a scribe tool to smooth edges until the surface is perfectly flat.
- Let the cookies rest for 9 hours 10 mins to ensure they are completely dry.
Chef's Tip: If you see a tiny air bubble after flooding, don't panic. Just pop it with your toothpick immediately and swirl the icing back into place.
Fixing Your Icing Glitches
Even for the pros, icing can be finicky. Usually, it's just a matter of adding a tiny bit more water or sugar.
Grainy Icing Texture
If your icing feels sandy, it's usually because the sugar wasn't sifted or the mixer didn't run long enough to incorporate the crystals. You can usually fix this by beating it on medium for another minute.
Icing Bleeding
This happens when the colors run into each other, often because the outline wasn't dry or the icing was too thin. Ensure you wait the full 20 minutes between outlining and flooding.
| Problem | Root Cause | Solution |
|---|---|---|
| Too Runny | Too much water | Add 1 tbsp powdered sugar |
| Too Stiff | Not enough water | Add water 1/2 tsp at a time |
| Air Bubbles | Stirred too fast | Tap bowl on counter or use scribe |
Common Mistakes Checklist
- ✓ Sift powdered sugar to prevent lumps
- ✓ Use gel colors instead of liquid to avoid thinning
- ✓ Wait 20 mins for outlines to crust
- ✓ Check consistency with the 15 second rule
- ✓ Stir food coloring by hand, not with the mixer
Creative Twist for Your Icing
You can easily change the vibe of this recipe. For a richer taste, try adding a pinch of cinnamon or using almond extract instead of vanilla. If you're in a baking mood, these Chocolate Cupcakes are a hit and use similar decorating techniques.
- - For fine detail
- Keep it stiff.
- - For filling large areas
- Use the 15 second rule.
- - For a glaze
- Add an extra tablespoon of water.
Adjusting Your Batch Size
If you are just making a few cookies for a friend, you can easily scale this down.
Scaling Down (Half Batch): Use 2 cups of sugar and 1/2 an egg white. Beat the egg white in a small bowl first, then measure out half. Reduce mixing time by about 20% since there is less volume to move.
Scaling Up (Double Batch): Double the sugar and egg whites, but only increase the vanilla and corn syrup by 1.5x. Too much syrup can make the icing too glossy and slow to dry. Work in batches if your mixer bowl is small to avoid splashing powdered sugar all over your kitchen.
Icing Logic Debunked
There are a few myths I hear all the time in the cookie world.
First, some people think you need to boil the sugar to make it set. That's for meringue or fondant. Royal icing sets because the water evaporates, leaving a hard sugar crust.
Second, people believe that "more sugar equals faster drying." Not necessarily. If you add too much sugar without enough binder, the icing will crack as it dries. Balance is key.
Keeping Your Icing Fresh
Storage is where a lot of people go wrong. If you leave your icing bowls open, a skin will form in minutes.
Fridge Storage: Keep your icing in an airtight container or a sealed piping bag in the fridge for up to 2 weeks. When you're ready to use it again, let it come to room temperature and stir in a drop of water to loosen it up.
Freezing: You can freeze royal icing for up to 2 months. Thaw it in the fridge overnight, then stir it gently by hand.
Zero Waste Tips: Don't throw away those leftover scraps of icing! You can use them to decorate a batch of Banana Bread for a fun, sweet contrast, or simply freeze the remaining colored icing in small dollops on parchment paper.
Best Pairings for Sweet Cookies
Since these cookies are very sweet and have a distinct snap, they pair best with things that offer a bit of contrast. A cold glass of milk is the classic choice, but a strong Earl Grey tea cuts through the sugar perfectly.
If you're serving these at a party, put them alongside some fresh raspberries or sliced pears. The tartness of the fruit balances the velvety vanilla icing, making the whole spread feel a bit more balanced.
Recipe FAQs
How to get the right consistency for flooding?
Add warm water one teaspoon at a time while mixing on low. Stop when a line drawn through the icing disappears in 15 seconds.
How to achieve the correct texture for piping outlines?
Mix in warm water one teaspoon at a time on low speed. Stop as soon as the icing holds a stiff peak.
Why are there air bubbles in my colored icing?
Stirring too vigorously introduces air into the mixture. Stir your gel food coloring by hand slowly to keep the surface smooth.
Should I wait before filling in the cookie centers?
Yes, wait 20 minutes. Let the piped outlines set first so the flood icing doesn't bleed into the edges.
How to smooth out the edges of flooded cookies?
Use a scribe tool to gently drag and smooth the edges until the surface is perfectly flat.
Is it true that sifting the powdered sugar is optional?
No, this is a common misconception. Sifting is required to ensure the icing is smooth and cloud like without lumps.
Can I omit the corn syrup from this recipe?
No, it is essential. Corn syrup provides the necessary structure and professional sheen for the final finish.
Royal Icing For Sugar Cookies