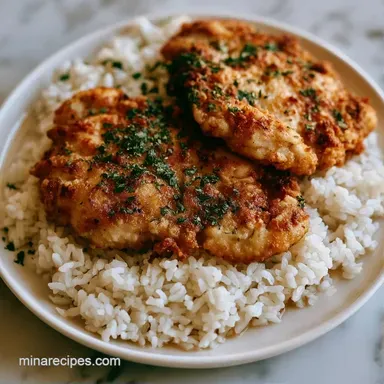
One Pot Chicken and Rice: Golden and Nutty
- Time: 10 min active + 30 min cook
- Flavor/Texture Hook: Mahogany browned skin with nutty, tender rice
- Perfect for: Weeknight dinner or easy meal prep
Ever wonder why some home cooked meals smell like a hug? There is something about the scent of garlic hitting hot butter and chicken skin browning in a heavy pan that just signals "comfort." It fills the whole house, making everyone wander into the kitchen before the food is even ready.
I used to struggle with the rice turning into a gummy mess or the chicken staying pale and boiled looking. Then I realized the trick is all in the order of operations. You can't just throw everything in and hope for the best.
This One Pot Chicken and Rice approach fixes those issues. By searing the meat first and toasting the grains, you build layers of flavor that make a simple meal feel like a feast.
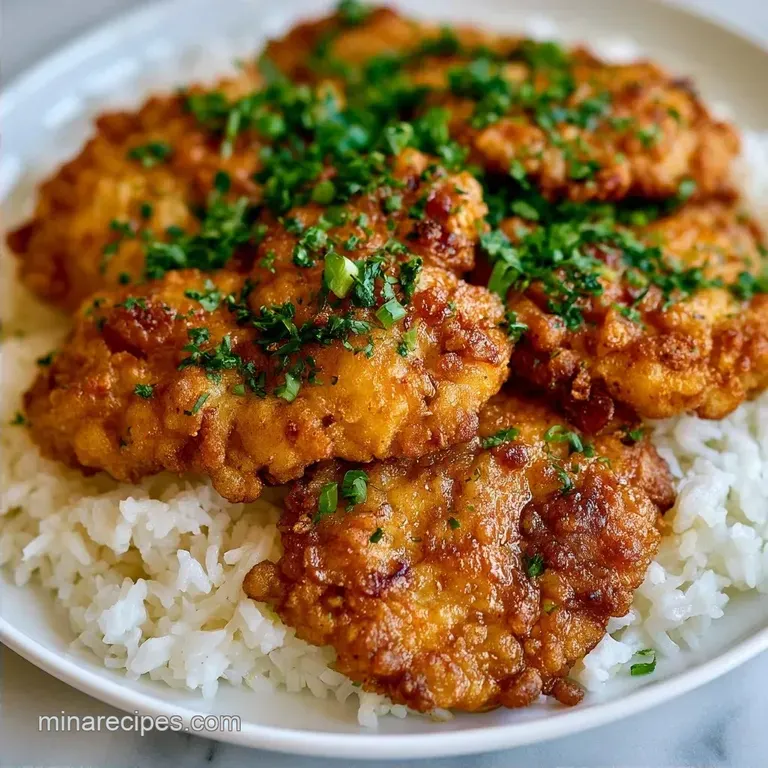
Easy One Pot Chicken and Rice
Right then, let's get into why this method actually works. Most people treat rice like a sponge, but treating it like a toasted nut changes the whole vibe of the dish.
Searing the Meat: Browning the skin first creates a rich base of fat and flavor. This fat then toasts the rice, which prevents the grains from sticking together.
Toasting the Grains: Heating the dry rice in butter until it smells nutty helps the grains hold their shape. It stops the Pot Chicken and Rice from becoming a porridge.
The Steam Seal: Keeping the lid tight traps the moisture. This ensures the rice cooks evenly without you having to add more water halfway through.
| Method | Time | Texture | Best For |
|---|---|---|---|
| Skillet/Dutch Oven | 40 mins | Crispy skin, fluffy rice | Traditional flavor |
| Instant Pot | 25 mins | Tender skin, softer rice | Maximum speed |
| Oven Bake | 60 mins | Evenly browned, firm rice | Large crowds |
What Each Ingredient Does
Before we start, it helps to know why we're using these specific items. Every bit of this Pot Chicken and Rice serves a purpose.
| Ingredient | What It Does | Best Swap |
|---|---|---|
| Chicken Thighs | Provides fat and stays juicy | Chicken Breast (needs less time) |
| Long Grain Rice | Absorbs broth without getting mushy | Basmati or Jasmine |
| Chicken Broth | Adds deep savory notes to the rice | Vegetable broth or water + bouillon |
| Unsalted Butter | Toasts the rice and adds richness | Olive oil or Ghee |
Shopping List Guide
Grab these items from the store. I suggest getting bone in thighs because the bone adds a lot of flavor to the rice as it simmers.
- 1.5 lb bone in, skin on chicken thighs Why this? Thighs don't dry out during the simmer
- 1.5 cups long grain white rice Why this? Holds its shape better than short grain
- 2.5 cups low sodium chicken broth Why this? Controls the salt levels
- 1 medium onion, finely diced
- 3 cloves garlic, minced
- 2 tbsp unsalted butter
- 1 tbsp olive oil
- 1 cup frozen peas and carrots mix
- 1 tsp salt
- 1/2 tsp black pepper
- 1 tsp dried thyme
- 1 bay leaf
Essential Kitchen Gear
You don't need a fancy setup here. A deep skillet with a lid or a Dutch oven is your best bet. You want something that can handle high heat for the sear but can also seal in steam.
A sturdy wooden spoon is great for scraping those browned bits off the bottom. If you have a meat thermometer, that's a bonus, but you can usually tell by the rice's texture when it's done.
Step-by-step Cooking Guide
When making Chicken and Rice, the goal is to build flavor in stages. Follow these steps and don't rush the browning part.
- Pat the chicken thighs bone dry with paper towels. Season both sides generously with 1 tsp salt and 1/2 tsp black pepper. Note: Dry skin equals crispier skin
- Heat 1 tbsp olive oil in a deep skillet or Dutch oven over medium high heat. Place chicken skin side down and sear for 5-7 minutes until the skin is deep mahogany brown.
- Flip the chicken and sear for another 2 minutes. Remove the chicken to a plate and set it aside.
- Reduce heat to medium. In the remaining chicken fat, melt 2 tbsp butter. Add the diced onion and sauté for 3-4 minutes until translucent.
- Stir in the minced garlic and 1.5 cups dry rice. Stir constantly for 2 minutes until the rice edges look translucent and smell slightly nutty.
- Pour in 2.5 cups chicken broth, 1 tsp dried thyme, and 1 bay leaf. Scrape the bottom of the pan to release all those browned bits.
- Stir in the 1 cup frozen vegetables. Nestle the seared chicken thighs back into the rice, skin side up, keeping the skin above the liquid.
- Cover with a tight lid and simmer on low heat for 20-25 minutes until the rice is tender and the liquid is absorbed. Do not lift the lid.
Chef's Note: I once lifted the lid three times because I was impatient. I lost all the steam, and the rice stayed hard in the center. Trust the process and leave the lid alone!
Fixing Common Cooking Issues

Even with a good plan, things happen. Usually, it comes down to the heat or the liquid ratio.
Rice Still Crunchy?
This happens if the lid isn't tight enough or the heat was too high, evaporating the liquid too fast. You can fix this by adding 2-3 tablespoons of water and simmering for another 5 minutes.
Rice Too Gummy?
Too much stirring or using the wrong rice (like sushi rice) causes this. The starch releases and creates a gluey texture. Next time, avoid stirring once the broth is in.
Soggy Chicken Skin?
If the chicken sinks too deep into the liquid, the skin steams instead of staying crisp. Ensure the thighs sit on top of the rice bed.
| Problem | Root Cause | Solution |
|---|---|---|
| Burnt Bottom | Heat too high | Use a heavier pan or lower the flame |
| Undercooked Rice | Lid leaked steam | Use a tighter lid or a damp kitchen towel under it |
| Bland Flavor | Not enough browning | Sear chicken longer until deep brown |
Fun Flavor Variations
You can easily tweak this recipe to fit your mood. If you want a lighter version, you can try Chicken Breast for 4 recipe as a starting point for your protein.
Indian Style Twist
Swap the thyme for 1 tsp garam masala and add a pinch of turmeric. Use basmati rice for a more fragrant, fluffy result.
Using Chicken Breast
If you use breasts, reduce the sear time. Breast meat dries out much faster than thighs, so you might want to add them during the last 15 minutes of the rice simmer.
Dairy free Options
The butter is great for toasting, but coconut oil or extra olive oil works just as well. It won't be as rich, but it's still very tasty.
Scaling Your Meal
Adjusting this recipe is simple, but don't just double everything blindly.
Cutting it in half: Use a smaller pan. Reduce the simmer time by about 20% because the smaller volume of liquid heats through faster. Beat one egg if you're adding a binder, then use half.
Doubling the batch: Don't double the salt or thyme. Use 1.5x the spices instead. Liquids can usually be reduced by about 10% because a larger pot retains more steam.
If you're using a very deep pot, you might need to increase the simmer time by 5-10 minutes to ensure the bottom layer is cooked.
Kitchen Myths
There are a few things people say about Chicken and Rice that just aren't true.
One big one is that searing the meat "seals in the juices." It doesn't. Moisture loss happens regardless of the sear. The browning is actually about flavor and texture, not keeping the meat moist.
Another myth is that you must wash all rice. While washing removes excess starch (which prevents gumminess), some people prefer the starch for a creamier feel. For this recipe, a quick rinse is good, but not mandatory.
Storage and Zero Waste
This dish keeps well in the fridge for 3-4 days. Store it in an airtight container. When reheating, add a splash of water or broth to the rice to bring back that fluffy texture.
If you have extra chicken thighs, you can freeze them raw for up to 6 months. For a different vibe next time, try Chicken in 22 Minutes recipe if you're in a rush.
To avoid waste, save the chicken bones from other meals in a freezer bag. Once you have a few, simmer them with onion peels and carrot ends to make your own homemade broth for the next time you make this.
Simple Pairing Ideas
Since this is a full meal, you only need something fresh to balance the richness.
A simple arugula salad with lemon vinaigrette cuts through the butter and chicken fat. Steamed broccoli or sautéed spinach also works well. If you're feeling fancy, a dollop of Greek yogurt or a squeeze of fresh lime over the top adds a brightness that really wakes up the flavors.
Enjoy your Chicken and Rice! It's the kind of meal that makes your kitchen feel like the center of the home.
Recipe FAQs
What's a good one-pan chicken and rice recipe for weeknights?
Use a Dutch oven or deep skillet. Sear the chicken thighs skin side down, sauté the rice and aromatics in the remaining fat, and simmer everything together under a tight lid.
How to make a healthy chicken and rice dish?
Reduce fats by using skinless chicken. Use a smaller amount of butter and increase the ratio of frozen peas and carrots. For another low-calorie meal, try our healthy chicken chili.
How to cook chicken and rice casserole?
Transfer the seared chicken and rice to a baking dish. Cover tightly with a lid or foil and bake until the liquid is absorbed and the rice is tender.
Can I use chicken breasts for a one-pot chicken and rice meal?
Yes, but monitor the cooking time. Breasts cook faster and dry out more easily than bone-in thighs, so reduce the simmering time to maintain moisture.
Can I make this chicken and rice Indian style?
Yes, by adjusting the spice profile. Replace the thyme and bay leaf with your preferred aromatic spices during the rice sauté step.
Can I cook this one-pot chicken and rice in the oven?
Yes, using an oven safe Dutch oven. After searing the chicken and sautéing the rice on the stove, cover the pot and transfer it to the oven to finish simmering.
Is it true that stirring the rice during simmering prevents clumping?
No, this is a common misconception. Stirring releases excess starch and makes the rice mushy; adhere to the no-peek rule to maintain steam.
One Pot Chicken And Rice