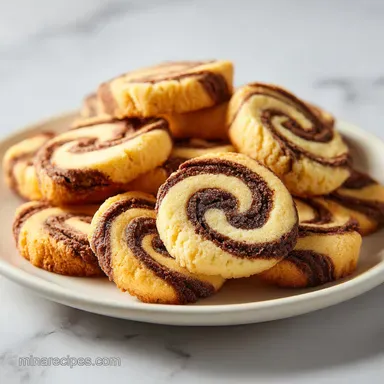
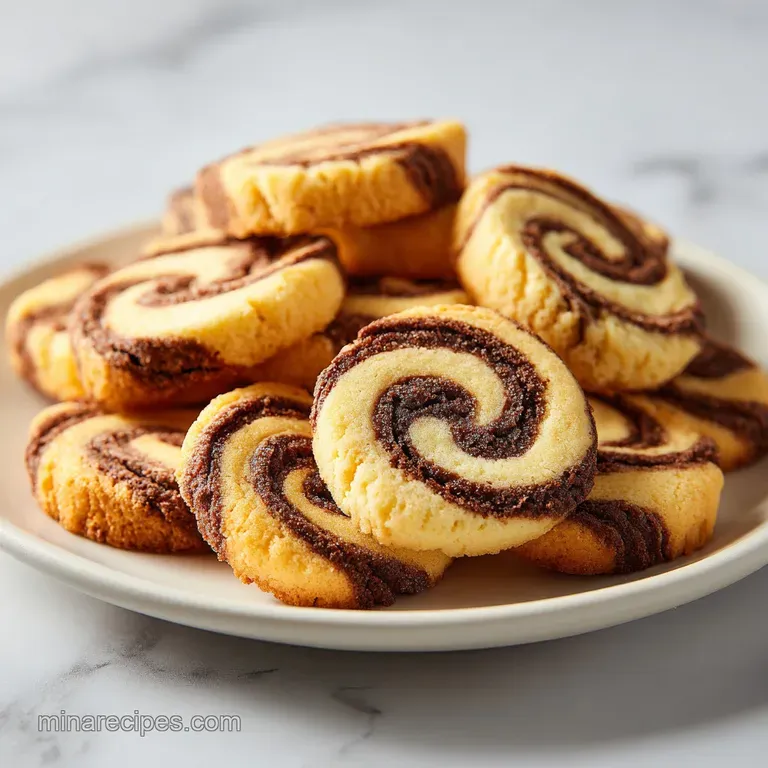
Old Fashioned Pinwheel Cookies: Buttery and Golden
- Time:20 minutes active + 2 hours chilling = Total 2 hours 35 mins
- Flavor/Texture Hook: Buttery, velvety crumb with a clean chocolate snap
- Perfect for: Holiday cookie swaps or a rainy afternoon project with kids
Creating Rustic Pinwheel Cookies
That first scent of vanilla and browned butter hitting the air is always the best part. I remember the first time I tried these for a neighborhood get together. I was so focused on making the circles look like something out of a magazine that I practically fought the dough.
I ended up with some swirls that looked more like chaotic clouds than pinwheels, and honestly, they were the first ones gone.
We've all been there, trying to be too precise. The beauty of these treats is in the imperfection. When the chocolate swirls slightly into the vanilla, it just looks homemade and comforting. Trust me on this, don't stress if your log isn't a perfectly straight cylinder.
The flavor is what carries the day, and that buttery, melt in-your mouth texture is what people actually care about.
Right then, let's get into it. You're going to end up with a batch of cookies that have a lovely, soft bite and a visual pop that makes them look way more complicated than they actually are.
It's a straightforward process of mixing, rolling, and waiting, but the result is a classic that feels nostalgic every time it comes out of the oven.
Quick Recipe Overview
Before we dive into the bowls, let's look at how to plan this based on who you're feeding. Since these are rich and buttery, a little goes a long way, but for a party, you'll want to scale up.
| Servings | Ingredient Adjustments | Pan Size | Cook Time |
|---|---|---|---|
| 14 people | Use half recipe | 1 baking sheet | 12-15 minutes |
| 28 people | Standard recipe | 2 baking sheets | 12-15 minutes |
| 56 people | Double recipe | 4 baking sheets | 12-15 minutes |
It's worth noting that if you double the recipe, don't try to roll one massive log. It becomes a nightmare to handle and won't chill evenly in the center. Instead, make two separate logs. This keeps the dough manageable and ensures that every slice is consistent.
The Secret to the Swirl
I used to wonder why some pinwheels looked sharp while others looked like a blurry mess. It turns out there are a few simple things happening with the ingredients that dictate the final look.
- Fat Stability: Cold butter in the chilled log keeps the dough rigid, which prevents the colors from bleeding into each other when the heat hits.
- Air Gap Removal: Pressing the dough firmly during the roll prevents pockets of air from expanding in the oven, which usually causes the swirls to crack.
- Moisture Balance: Adding a tiny bit of milk to the cocoa portion prevents the chocolate dough from becoming too dry and crumbly compared to the vanilla side.
- Sugar Structure: The ratio of sugar to flour ensures the cookie holds its shape instead of spreading into a flat puddle.
If you're looking for more ways to customize your sugar based treats, you might like my Royal Icing recipe for adding a crisp finish to the edges of your bakes.
Selecting Your Basic Ingredients
The base of this recipe is a classic shortbread style dough. We aren't doing anything fussy here, just using staples that provide a velvety mouthfeel.
| Ingredient | Science Role | Pro Secret |
|---|---|---|
| Unsalted Butter | Provides structure and richness | Use room temp, not melted, for better aeration |
| All Purpose Flour | Builds the gluten framework | Spoon and level to avoid a dense cookie |
| Cocoa Powder | Adds contrast and bitterness | Sift it to avoid dark clumps in the swirl |
| Gel Food Coloring | Provides vivid visual separation | Gel is better than liquid to avoid altering dough moisture |
The Master Ingredient List
- 1 cup (225g) unsalted butter, softened Why this? Essential for that rich, melting texture
- 3/4 cup (150g) granulated sugar Why this? Provides sweetness and helps with browning
- 1 large egg (50g) Why this? Binds everything together for a sturdy roll
- 1 tsp (5ml) vanilla extract Why this? Classic aromatic base
- 2 1/4 cups (280g) all purpose flour Why this? Standard protein level for a soft bite
- 1 tsp (5g) baking powder Why this? Gives a tiny bit of lift so they aren't rocks
- 1/4 tsp (1.5g) salt Why this? Balances the sugar
- 2 tbsp (15g) unsweetened cocoa powder Why this? Creates the dark contrast
- 1-2 drops (0.1ml) gel food coloring Why this? Makes the light dough pop
- 1 tbsp (15ml) milk Why this? Hydrates the cocoa powder
Smart Swaps for Variety
| Original Ingredient | Substitute | Why It Works |
|---|---|---|
| Unsalted Butter | Coconut Oil (solid) | Similar fat content. Note: Adds a slight coconut flavor and softer edge |
| Granulated Sugar | Powdered Sugar | More tender crumb. Note: Results in a more "melt away" texture |
| All Purpose Flour | Almond Flour (50/50 mix) | Nutty flavor. Note: Denser crumb and more fragile rolls |
| Cocoa Powder | Matcha Powder | Earthy contrast. Note: Use same amount as cocoa for a green swirl |
Let's talk about the butter for a second. Honestly, don't even bother with low-fat or margarine here. You need the saturated fats to make the log hold its shape in the fridge. If the butter is too soft, the log will slump, and your pinwheels will look like ovals.
Necessary Kitchen Tools
You don't need a professional bakery setup for this. A few basic tools will do the trick, though a rolling pin is non negotiable.
- Electric hand mixer (or a stand mixer)
- Two medium mixing bowls
- Rolling pin (preferably with thickness rings)
- Plastic wrap (the clingy kind)
- Baking sheets and parchment paper
- Sharp chef's knife for slicing
Chef Tip: If you don't have a rolling pin, a clean wine bottle works in a pinch. Just wrap it in a paper towel to keep it from slipping.
Putting the Dough Together
Now we get to the fun part. We're basically making one big batch of dough and then splitting it into two personalities.
Phase 1: Creating the Master Base
Cream the softened butter and sugar together using an electric mixer until the mixture is pale and fluffy. Beat in the egg and vanilla extract until fully emulsified. In a separate bowl, whisk together the flour, baking powder, and salt, then slowly integrate the dry ingredients into the wet mixture until a soft dough forms.
Phase 2: Splitting and Coloring the Dough
Divide the dough into two equal portions. To the first half, fold in the cocoa powder and milk until the chocolate color is uniform. To the second half, fold in the gel food coloring and knead briefly until the color is consistent.
Phase 3: Rolling the Pinwheel Log
Roll each colored dough into a rectangle of equal size and thickness (approximately 1/2 inch). Carefully stack one rectangle on top of the other and roll the dough tightly from the long edge into a cylinder, pressing firmly to remove air gaps.
Phase 4: The Crucial Chill and Bake
Wrap the log tightly in plastic wrap and refrigerate for 2 hours. Preheat the oven to 350°F (175°C). Slice the chilled log into rounds approximately 1/4 inch thick.
Bake for 12-15 minutes until the edges are set but not browned.
- 1. Dough thickness
- 1/2 inch before rolling.
- 2. Chill time
- Exactly 2 hours (no shortcuts).
- 3. Slicing thickness
- 1/4 inch for a consistent bake.
Fixing Common Dough Issues
Even for experienced cooks, these cookies can be a bit finicky. Most problems happen during the rolling or slicing phase.
Why Your Swirls Blur
If the colors bleed together during baking, the dough was likely too warm when it hit the oven. This happens if the log didn't chill long enough or if it sat on the counter for 20 minutes while you were prepping the tray.
Why Your Log Cracks
Cracks usually come from air pockets trapped between the two layers of dough. When the air heats up, it expands and splits the cookie. Make sure you're pressing firmly as you roll.
| Problem | Root Cause | Solution |
|---|---|---|
| Dough is too sticky | Butter was too warm | Chill dough for 15 mins before rolling |
| Cookies spread too much | Oven temp too low | Use oven thermometer to verify 350°F |
| Log is hard to slice | Not chilled enough | Return to fridge for another 30 mins |
Mistakes to Avoid:
- ✓ Don't over mix the flour; stop as soon as the dough comes together.
- ✓ Pat your knife clean between slices to keep the swirls sharp.
- ✓ Avoid using liquid food coloring, as it makes the dough too wet.
- ✓ Let the cookies cool on the pan for 5 minutes before moving them.
Fun Flavor Variations
Once you've got the basic technique down, you can start playing with the fills. This is where you can turn these into something truly unique.
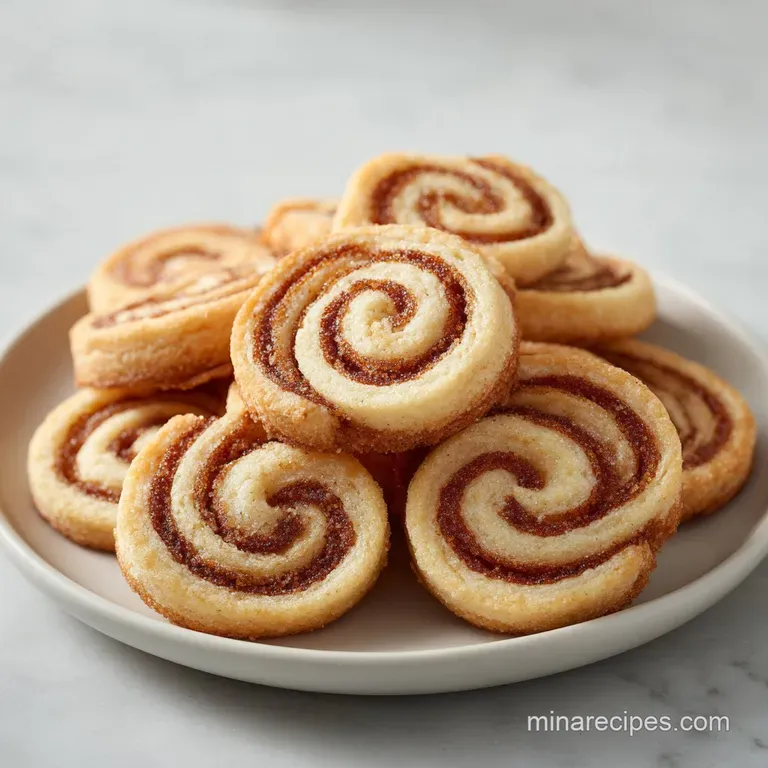
For a Fruity Center
If you want pinwheel cookies with jam, roll a thin layer of apricot or raspberry jam onto the vanilla rectangle before adding the chocolate layer. Just keep the jam layer very thin, or the log will slide apart during slicing.
For a Richer Flavor
For pinwheel cookies with dates, blend soaked dates into a paste and fold them into the vanilla dough. This adds a deep, caramel like sweetness that pairs brilliantly with the cocoa.
For a Gooey Surprise
To make pinwheel cookies marshmallow, place a few mini marshmallows in a line down the center of the dough before rolling. They'll melt into little pockets of gooey goodness.
For a Plant Based Version
You can substitute the butter with a high-quality vegan butter stick and use a flax egg (1 tbsp ground flax + 3 tbsp water). Note that the texture will be slightly more fragile, so chill the log for an extra 30 minutes.
Saving Your Leftovers
These cookies keep surprisingly well because of the high fat content. They don't dry out as quickly as some other sugar cookies.
Storage Guidelines: Keep them in an airtight container at room temperature for up to 5 days. If you live in a very humid area, keep them in the fridge to maintain that slight snap.
Freezing Tips: You can freeze the unbaked log for up to 3 months. Wrap it in plastic and then a layer of foil. When you're ready for a treat, let it thaw in the fridge overnight before slicing and baking.
Zero Waste Ideas: If you have scraps of dough left over from squaring off your rectangles, don't toss them. Roll them into small balls and bake them as "tester" cookies. Also, if you have leftover gel coloring, freeze it in a tiny droplet on parchment paper for your next baking project.
Plating Your Treats
Since we're prioritizing taste over fussiness, you can present these in a few different ways depending on who is coming over.
| Level | Presentation Style | Tweak |
|---|---|---|
| Simple | Rustic Pile | Stack them haphazardly on a wooden board |
| Polished | Grid Pattern | Line them up on a white platter with gaps |
| Restaurant | Deconstructed | Lean 3 cookies against a dollop of chocolate mousse |
For a Professional Look: If you really want to impress, try a "tower" plating. Stack five cookies with a tiny dot of melted chocolate between each one to act as glue. Dust the whole tower with a light snowfall of powdered sugar.
The Perfect Pairing: These are quite sweet, so they pair best with something bitter. A strong espresso or a cold glass of almond milk balances the buttery richness. If you're serving them at a party, a tray of fresh raspberries on the side adds a tart contrast that cuts through the sugar.
Recipe FAQs
What is a pinwheel cookie?
A swirl patterned sugar cookie. It is created by rolling two different colored doughs together into a cylinder, chilling the log, and slicing it into rounds.
What company made pinwheel cookies?
Nabisco produced the classic commercial version. These store-bought cookies were well-known for their nostalgic spiral design and buttery taste.
Does Nabisco still make pinwheel cookies?
No, they are no longer in production. To enjoy this specific style of cookie, you now need to make them from scratch.
How to keep pinwheels from falling apart?
Wrap the dough log tightly in plastic wrap and refrigerate for 2 hours. Chilling the dough locks the colors and structure in place so the spirals don't blur during baking.
How to ensure the swirls look clean and distinct?
Roll each colored dough into rectangles of equal size and thickness. Press firmly when rolling the dough into a cylinder to remove air gaps before chilling.
Is it true that baking at a higher temperature prevents the colors from bleeding?
No, this is a common misconception. Bake at 350°F (175°C) for 12-15 minutes; the chilling phase, not the oven heat, is what prevents the colors from bleeding.
How to prepare the dough for a future baking date?
Chill the wrapped dough log in the refrigerator for up to 48 hours. Slice the chilled log into 1/4 inch rounds only when you are ready to bake.
Old Fashioned Pinwheel Cookies