Moist Chocolate Cupcakes
- Simple Moist Chocolate Cupcakes Recipe For Beginners
- The Physics of Tender Crumbs
- Important Timing and Yield Details
- The Essential Flavor Components
- Necessary Kitchen Baking Tools
- Following the Precise Baking Method
- Pro Baking Secrets Revealed
- Safe Dietary Ingredient Swaps
- Effective Cupcake Storage Methods
- Creative Decoration and Garnish Ideas
- Recipe FAQs
- 📝 Recipe Card
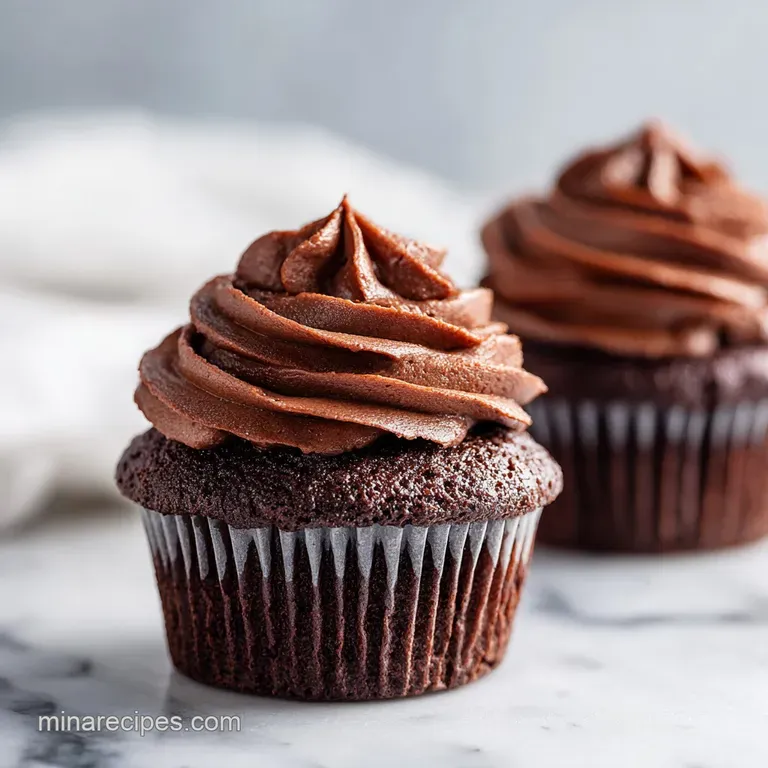
Simple Moist Chocolate Cupcakes Recipe For Beginners
The aroma of darkening cocoa hitting boiling water is something I’ll never get tired of. It’s that deep, almost earthy scent that tells you the kitchen is about to become the best place in the house.
I remember the first time I made these for my nephew’s birthday; I was so worried about them being dry that I almost overcompensated with extra oil. Thankfully, I stuck to the plan, and when those liners peeled away to reveal a velvety, dark crumb that practically melted, I knew I’d found my forever recipe.
We’ve all had those cupcakes that look stunning but taste like flavored cardboard. This isn’t that. These are the cupcakes you make when you want people to actually finish the whole thing, including the crumbs at the bottom of the wrapper.
They’re unpretentious, rustic in the best way, and focus entirely on that deep chocolate impact. Whether it’s a rainy Tuesday afternoon or a big family blowout, these fit the mood because they’re honestly just good, honest cake.
But let’s be real for a second: the secret isn't some rare, expensive bean or a fussy technique. It’s about how we treat the ingredients we already have in the pantry. I’ve made the mistake of over mixing, and I’ve definitely forgotten the salt before (don't do that, it’s tragic).
This guide is about skipping those heartbreaks and getting straight to that fudgy, tender result every single time. Let’s get the oven preheated and talk about why this actually works.
The Physics of Tender Crumbs
When we talk about what makes this specific moist chocolate cupcakes recipe stand out, it comes down to how we handle the structure of the batter. Most cakes rely on creaming butter and sugar to trap air, but we’re using oil here for a specific reason.
- Fat Suspension: Vegetable oil remains liquid at room temperature, which ensures the cake feels soft and "wet" even after it has cooled down completely.
- Cocoa Blooming: Adding boiling water or hot coffee "blooms" the cocoa powder, dissolving lumps and releasing the trapped flavor oils within the dry powder for a deeper profile.
- Leavening Balance: The combination of baking powder and baking soda reacts with the acidic cocoa and buttermilk (if substituted) or milk, creating tiny bubbles that lift the dense batter.
- Sugar Hydration: The high sugar to flour ratio doesn't just add sweetness; it actually interferes with gluten development, keeping the texture tender rather than bready.
| Feature | Fresh From Scratch | Box Mix Shortcut | Why It Matters |
|---|---|---|---|
| Crumb Texture | Velvety and tight | Airy and spongy | Scratch allows for a richer, denser chocolate experience. |
| Flavor Depth | Intense cocoa notes | Artificial vanilla hint | Real cocoa blooming creates a darker, more "adult" chocolate flavor. |
| Moisture Level | Stays moist for 3 days | Dries out by day 2 | Oil based scratch recipes hold moisture significantly longer than mixes. |
Every time I see a recipe that calls for just "water," I reach for the coffee pot instead. It doesn't make the cupcakes taste like a latte; it just makes the chocolate taste more like itself. It's one of those small shifts that changes the entire game. If you’re curious about more ways to use that coffee chocolate combo, you might find my Mississippi Mud Pie right up your alley for your next big gathering.
Important Timing and Yield Details
Consistency is everything in baking. If you’re like me, you’ve probably tried to eyeball the "halfway full" mark on a cupcake liner and ended up with six giants and six dwarfs.
We’re aiming for 12 even cupcakes here, filling each liner exactly 2/3 full to allow for that slightly domed, rustic top that’s perfect for frosting.
| Component | Component Analysis | Pro Secret |
|---|---|---|
| Cocoa Powder | Provides the structural base and flavor | Sift it twice to avoid those tiny bitter "bombs" of dry powder in the cake. |
| Boiling Water | Hydrates the starches and dissolves sugar | Use hot coffee to amplify the chocolate without adding extra sweetness. |
| Vegetable Oil | Prevents gluten strands from becoming tough | Choose a neutral oil like canola or grapeseed so the cocoa remains the star. |
The timings are non negotiable if you want that "shatter" of the slightly crisp top and a fudgy center. We are looking at exactly 15 minutes of prep mostly sifting and whisking and 18 minutes in the oven.
That 33 minutes total is the fastest route to chocolate bliss I know. I once tried to rush the cooling process by putting them in the fridge, but it just made the liners peel off prematurely. Trust the wire rack.
The Essential Flavor Components
Don’t let the simplicity of this list fool you. Each item has a job to do. I always tell my friends to use the best cocoa they can find, but even the standard grocery store stuff works beautifully here because of the blooming technique.
- 125g all purpose flour: The structural skeleton of our cupcake.
- 200g granulated sugar: For sweetness and moisture retention.
- 45g unsweetened natural cocoa powder: The source of our deep, dark color. Why this? Natural cocoa is acidic, which reacts with the baking soda for a better rise.
- 1 tsp baking powder: Provides the initial lift in the oven.
- 0.5 tsp baking soda: Reacts with the cocoa for extra fluffiness.
- 0.5 tsp fine sea salt: Essential for balancing the sugar.
- 1 large egg: Room temperature is a must for proper emulsification.
- 120ml whole milk: Adds fat and richness to the crumb.
- 60ml vegetable oil: Keeps things moist for days.
- 1.5 tsp vanilla extract: Rounds out the chocolate notes.
- 120ml boiling water or hot coffee: The key to the "blooming" process.
- 115g unsalted butter
- Must be softened to "dentable" consistency.
- 360g powdered sugar
- Sifted to ensure a silky texture.
- 45g unsweetened cocoa powder
- For that double chocolate hit.
- 45ml heavy cream
- Adjusts the "pipe ability" of the frosting.
- 1 tsp vanilla extract
- For that classic bakery aroma.
| Original Ingredient | Substitute | Why It Works |
|---|---|---|
| Whole Milk | Buttermilk (120ml) | Adds a slight tang and makes the crumb even more tender. |
| Vegetable Oil | Melted Coconut Oil | Similar fat profile. Note: Will add a very faint coconut aroma. |
| Boiling Water | Decaf Coffee | Provides the same flavor boost without the caffeine jolt. |
While we're on the topic of frosting, if you find yourself wanting something a bit more stable for a summer party or an outdoor event, I’ve had great luck using a stable cream cheese frosting instead. It cuts through the richness of the chocolate perfectly and holds its shape in warmer weather.
Necessary Kitchen Baking Tools
You don’t need a high end stand mixer for the batter. In fact, I prefer a hand whisk for the cake part because it prevents over aerating the eggs, which can cause the cupcakes to sink later.
For the frosting, however, a hand mixer or a stand mixer such as a KitchenAid is your best friend to get that velvety, whipped finish.
You’ll want a standard 12 cup muffin tin and some paper liners. I’m a fan of the grease proof ones because they don’t stick to the cake as it cools. Also, grab a fine mesh sieve.
Sifting the cocoa and flour might feel like a chore, but it’s the difference between a smooth batter and one with frustrating lumps of dry flour hiding inside.
Finally,, make sure you have a wire cooling rack. If you leave the cupcakes in the hot tin, they’ll continue to cook from the residual heat, which can turn a moist cupcake into a dry one in just a few minutes. We want to stop that cooking process the second they come out of the oven.
Following the Precise Baking Method
- Prep the environment. Preheat your oven to 350°F (175°C). Line your 12 cup muffin tin with paper liners. Note: Ensuring the oven is fully preheated prevents the "sinking" that happens with uneven temperatures.
- Combine dry ingredients. Sift the 125g flour, 200g sugar, 45g cocoa, baking powder, baking soda, and salt into a large bowl. Whisk thoroughly to distribute the leavening agents.
- Mix the wet base. In a separate jug, whisk the egg, 120ml milk, 60ml oil, and 1.5 tsp vanilla.
- Emulsify the batter. Pour the wet mixture into the dry. Whisk by hand for exactly 2 minutes until the batter is thick and looks like shiny chocolate lava.
- The bloom. Carefully pour in the 120ml boiling water or hot coffee. Whisk gently the batter will be very thin and splashy. Whisk until no streaks remain.
- Fill the tins. Divide the batter evenly. I find using a 1/4 cup measuring cup or a large cookie scoop helps keep things tidy. Fill each liner 2/3 full.
- Bake for 18 minutes. Slide them into the center rack. Bake until a toothpick comes out with only a few moist crumbs (not wet batter).
- Cool completely. Transfer to a wire rack after 5 minutes in the pan. They must be cold to the touch before frosting, or the butter will melt into a puddle.
- Whip the frosting. Beat the 115g softened butter and cocoa until smooth. Gradually add the 360g powdered sugar, 45ml cream, and vanilla. Beat on high until stiff peaks form.
- The finish. Pipe or swirl the frosting onto the cooled cakes. Don't be too fussy a rustic swirl with a butter knife often looks the most inviting.
Pro Baking Secrets Revealed
One thing I learned the hard way is that "room temperature" isn't just a suggestion. If your egg is cold, it won't emulsify with the oil and milk correctly, leading to a "split" batter that doesn't rise evenly.
I usually plop my egg in a bowl of warm water for 5 minutes if I’ve forgotten to take it out of the fridge. It’s a lifesaver.
Chef's Tip: If you want an even darker, more "noir" look, use Dutch processed cocoa powder. It has a higher pH and creates a deep black color that looks incredible against white frosting.
Another trick I swear by is the "slam." Before the cupcakes go into the oven, I gently tap the muffin tin on the counter twice. This forces any large air bubbles to the surface so you don't end up with giant "tunnels" inside your cupcakes. It’s loud, but it’s effective.
Why Your Cupcakes Sunk
This usually happens for one of two reasons: the oven door was opened too early, causing a temperature drop, or the baking soda was expired. Always check your leaveners by dropping a pinch of soda into vinegar; if it doesn't fizz aggressively, throw it out and buy a fresh box.
| Problem | Root Cause | Solution |
|---|---|---|
| Liners peeling off | Steam trapped during cooling | Remove cupcakes from the tin after 5 mins to a wire rack. |
| Dry, crumbly texture | Over baking | Check at 16 minutes; the tops should just spring back. |
| Greasy bottom | Oil not fully emulsified | Ensure the egg is room temperature and whisk for the full 2 mins. |
Common Mistakes Checklist
- ✓ Never overfill the liners; 2/3 is the limit to prevent "muffin tops" that stick together.
- ✓ Always use boiling liquid; lukewarm water won't bloom the cocoa properly.
- ✓ Avoid over mixing once the hot water is added; we want to keep those bubbles intact.
- ✓ Let the oven preheat for at least 20 minutes to ensure the stone or steel is hot.
- ✓ Use a kitchen scale for the flour; a "cup" can vary by up to 30g depending on how you pack it.
Safe Dietary Ingredient Swaps
I get asked a lot about making this moist chocolate cupcakes recipe for friends with dietary restrictions. Because this is an oil based recipe, it’s actually very easy to adapt. It doesn't rely on the complex structure of creamed butter, so the substitutions are less likely to ruin the texture.
For a vegan version, you can swap the milk for almond or soy milk and use a "flax egg" (1 tbsp ground flax mixed with 3 tbsp water). The result is a slightly denser, more brownie like cupcake, but it’s still remarkably tender. If you're going gluten-free, a high-quality 1 to-1 baking flour blend works best.
Just be sure it contains xanthan gum, or the cupcakes might be too fragile to pick up.
Scaling the Batch
- To make 6 cupcakes: Halve everything exactly. Use 1 small egg or half a whisked large egg. Reduce bake time by about 2-3 minutes.
- To make 24 cupcakes: Double all ingredients. For spices and salt, use only 1.5x the amount to avoid an overpowering flavor. Work in two separate tins on the same oven rack if possible for even air circulation.
Effective Cupcake Storage Methods
These cupcakes actually taste better on day two. The moisture from the frosting seeps slightly into the cake, making it incredibly fudgy. You can keep them in an airtight container at room temperature for up to 3 days.
If it's particularly humid, the fridge is safer, but let them sit out for 20 minutes before eating so the butter in the frosting can soften back up.
For zero waste baking, if you have leftover frosting, don't toss it! It keeps in the freezer for months. I also save any "misfit" cupcakes that might have crumbled and turn them into cake pops or a quick chocolate trifle with some whipped cream and berries. Even the crumbs are too good to waste.
Freezing is also an option. I recommend freezing the unfrosted cakes on a sheet tray until solid, then bagging them. They’ll stay fresh for 2 months. When you're ready for a treat, just thaw them on the counter for an hour and frost as usual. It’s like a gift to your future self.
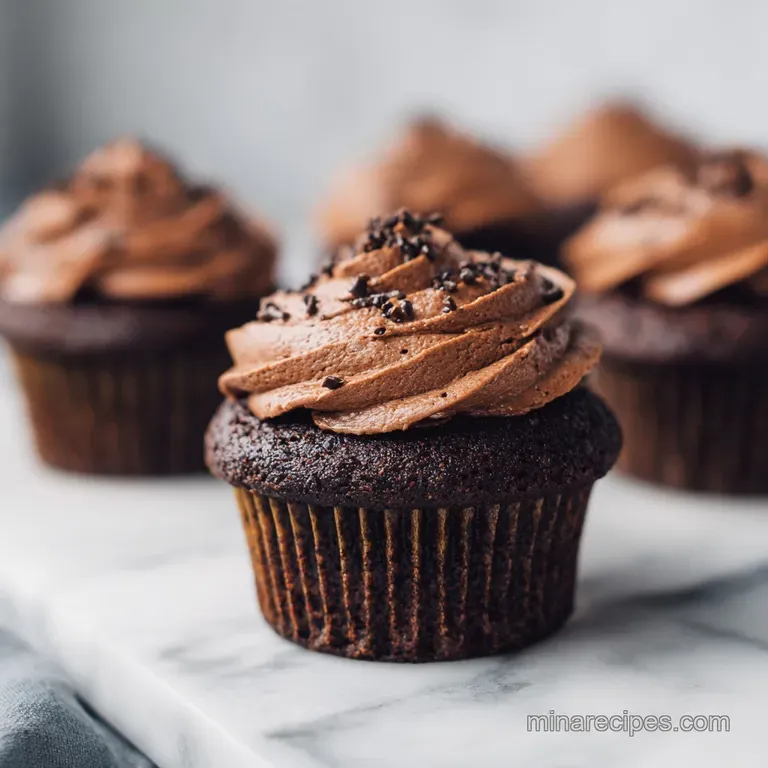
Creative Decoration and Garnish Ideas
Since we’re going for a flavor first, rustic vibe, the garnish should reflect that. I love a "color balance" approach. Instead of complex fondant work, think about simple, high contrast accents that hint at the flavors inside.
- Pearl White: Use a heavy hand with white nonpareils or a dusting of powdered sugar. The stark white against the dark chocolate frosting is a classic look that never fails.
- Ruby Red: A single fresh raspberry or a tiny slice of strawberry on top adds a necessary hit of acid to cut through all that sugar. Add these right before serving so the juice doesn't bleed into the frosting.
- Emerald Green: A tiny sprig of fresh mint or a pinch of crushed pistachios provides a sophisticated pop of color and a fresh aroma that pairs beautifully with the deep cocoa.
If you’re feeling a bit more adventurous, try a "s'mores" style garnish by topping the chocolate frosting with a toasted marshmallow and a tiny piece of graham cracker. For more inspiration on that specific flavor profile, my Toasted S'mores Rice Krispies are another crowd pleaser that uses that same smoky sweet logic.
Ultimately, the best part of this moist chocolate cupcakes recipe is that it doesn't need to be perfect to be successful. A messy swirl of frosting and a few stray sprinkles only add to the charm. It’s about the sizzle of the oven, the velvety texture of the batter, and the joy of sharing something homemade.
Grab a glass of milk, find a friend, and enjoy the best chocolate experience your kitchen has to offer.

Recipe FAQs
Is it true that I should use room temperature milk and oil for better texture?
Yes, this ensures a smoother emulsion. Using ingredients at room temperature helps them blend easily with the egg, creating a more consistent and moist cupcake crumb.
How to ensure the cocoa powder blooms correctly?
Pour 120ml of boiling water or hot coffee directly into the batter. The extreme heat is necessary to activate the cocoa, which results in a deeper, more intense chocolate flavor.
Should I use a measuring cup instead of a scale for the flour?
No, this is a common misconception. A kitchen scale is far more accurate, as packing flour into a cup can lead to using up to 30g too much, which makes cupcakes dry and dense.
How to fill the muffin liners without causing messy muffin tops?
Fill each liner only 2/3 full. Overfilling causes the batter to spill over the sides, preventing the cupcakes from rising into a perfect, clean shape.
Is it necessary to preheat the oven for the full duration?
Yes, allow the oven to preheat for at least 20 minutes. This ensures a stable 350°F environment, which is crucial for the cupcakes to rise properly and bake evenly within the 18 20 minute window.
How to avoid over mixing the batter?
Whisk gently once you have added the boiling liquid. While the initial dry-to-wet mixing stage needs about 2 minutes of vigor, you must be careful at the final step to keep the air bubbles intact for a light texture.
Can I frost the cupcakes while they are still warm?
No, always wait until they have cooled completely on a wire rack. Piping the frosting onto warm cupcakes will cause the butter based icing to melt and slide off instantly.
Moist Chocolate Cupcakes

Ingredients:
Instructions:
Nutrition Facts:
| Calories | 370 kcal |
|---|---|
| Protein | 3.6 g |
| Fat | 15.5 g |
| Carbs | 59.6 g |
| Fiber | 2.5 g |
| Sugar | 46.7 g |
| Sodium | 186 mg |
